
Pico-Hydro Power Generator Using SolidWorks and Cinema4D
- Jul 5, 2018
- 2 min read
Updated: Sep 4, 2019
This pico-hydro power generator is a thesis during my college years. A Kaplan turbine powered by the flow of river to produce electricity that can light a street.

Here is the finished presentation of the Pico-Hydro Power Generator.
To create 3D model of this turbine, we need to design its parts first. So, in calculating how large our turbine will be, we consider these things; power to be produce, location of installation and manufacturability.

Here is a sample of a part drawing we designed. This is the Basin, the largest part of the project, where water will flow until it reach the curve part to make a whirl at the hole making the runner spin.
Below, is the 3D model of the Basin which is created on SolidWorks and rendered in Cinema4D.

Next image below shows an examples of assembly. The turbine on the left side; assembly of the runner hub and its blades. And on the right side is the assembly of runner, stator, shaft and housing/cover.


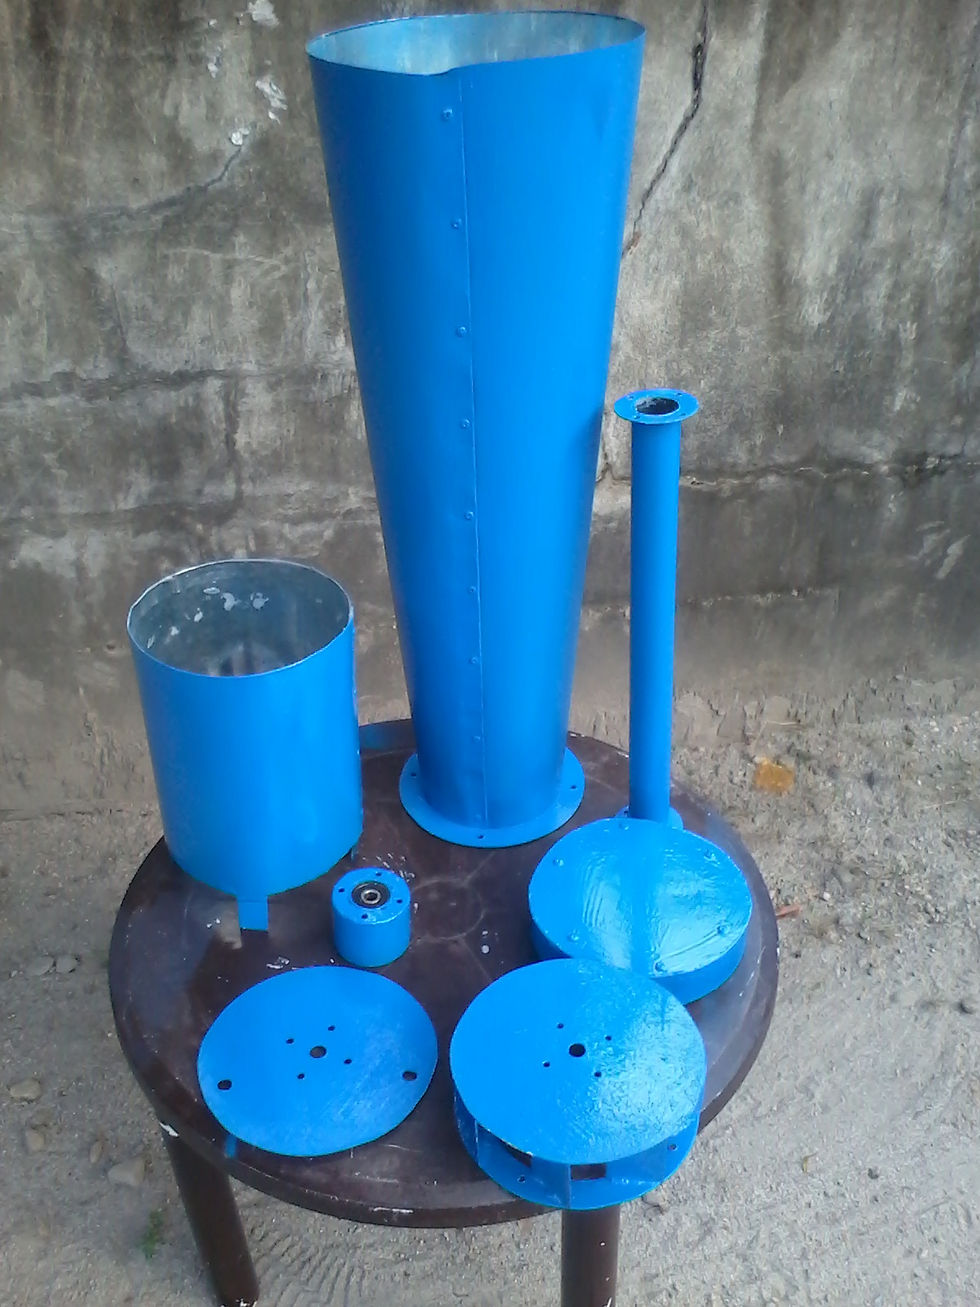
Here are the other parts of the power generator in 3D and the actual parts. Due to process time needed to create 3D models and animations, revisions made to the actual projects due to "manufacturability" and stability were not reflected to the 3D models, that is why there are some noticeable differences between them.

After the parts are made and assembled. The next and final step is to create a animation on how to build and what is the process that will happen inside the turbine.


We import 3D models from Solidworks to Cinema4D for some reasons; first we really don't know how to render good quality images and animation on Solidworks that time, second is that Cinema4D has ease in controls, it is user-friendly for animations and rendering, plus its render quality is super realistic.

That's all for this project. Thank you for visiting.


Comments